Building your own arrows allows you to save about 5 to 10 dollars per dozen, but there’s an even better reason for building your own. You can experiment with all the components, with the various fletching styles and shaft sizes until you find the perfect arrow for your bowhunting requirements.
Check out our Step-by-Step guide to building your own arrows…
Making your own arrows is easy and fun, not to mention the satisfaction you’ll gain from taking game with arrows you’ve built yourself.
Anyone can do it – and do it well. Armed with only a few basic tools and the information offered here, you’ll have no problem turning raw shafts into top-quality hunting arrows.
If you’re building your arrows from the beginning, here is a list of everything you’ll need from cutting it, to fletching.

Chances are, that if you’re building your own arrows, you’ve probably got some of your older arrows laying around. The easiest thing to do, is measure one of those arrows, and go off of that size for your new ones.
But if you want to start from scratch and use a different length of arrow, all you need to do is draw your bow with a full length, uncut arrow on it, and have someone else mark on the arrow where you’d like to cut it. Best recommendation is to mark the arrow about 1 1/2″ to 2 1/2″ past where the arrow sits on the arrow rest. If you go too long with your arrows, it can weaken the spine and affect your accuracy. If you cut it too short, you risk hitting your rest when you put your broadheads on.
Now that you’ve got your arrow length picked out, head over to the arrow saw and don’t forget to use eye protection when operating it.
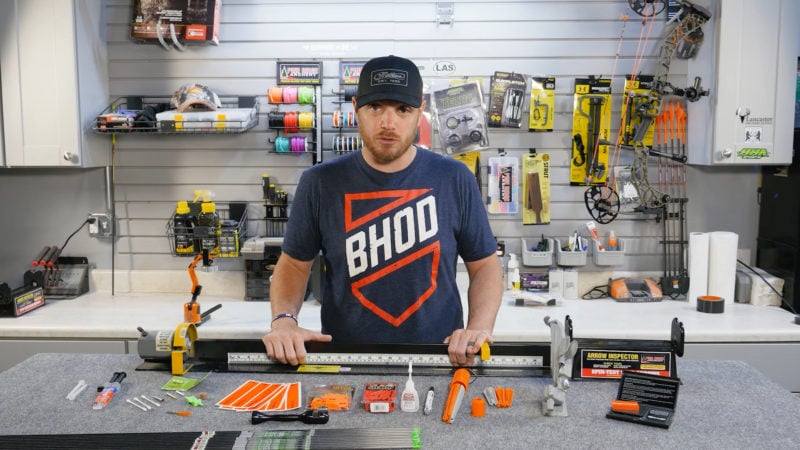
If you’ve got an arrow saw similar to the one pictured above, you can take your arrow and place it with the nock end in the holder on the opposite side of the saw blade. Then take an allen wrench, and adjust the holder so that the blade of the saw is at the spot that was previously marked for cutting.
Once the holder is tightened down, you’re ready to cut. Simply turn on the saw, place the nock end of the arrow back into the holder, slowly move your arrow in towards the saw, and as the saw is cutting into your arrow, make sure that you spin the arrow so the saw can make an even cut on the shaft.

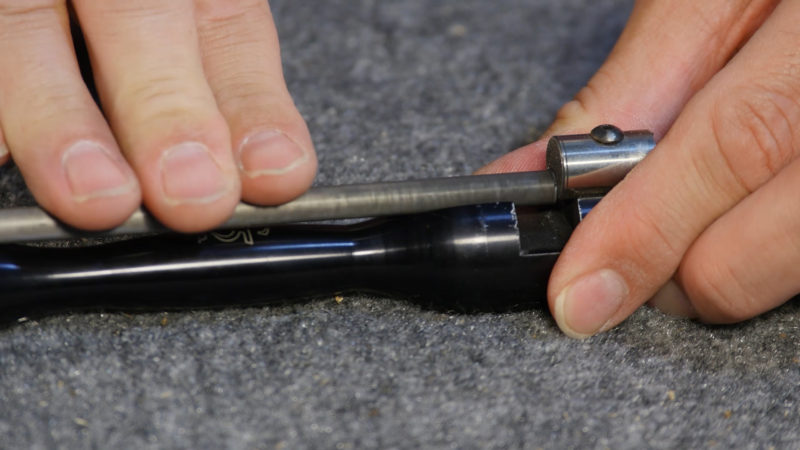
Once you’ve got the arrow cut to length, it’s important to make sure that both ends of it are perfectly flush. If the ends of the arrow shaft aren’t completely square, it can effect both accuracy and the ability of a lighted nock if you use one.
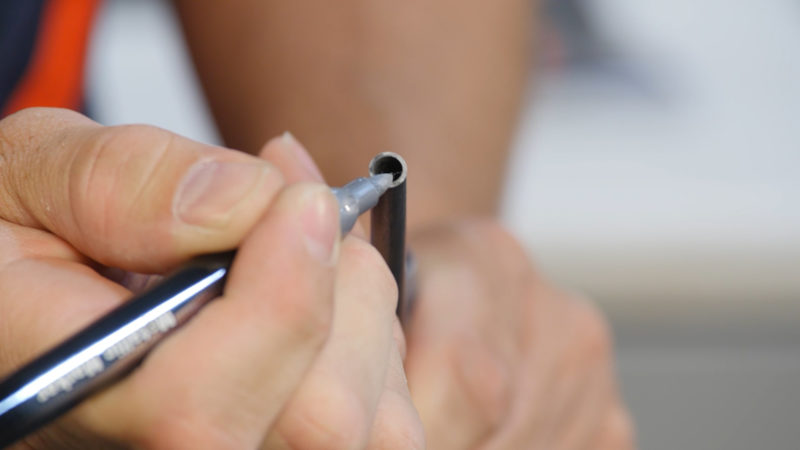
What you’ll need to do is remove the nock from the arrow, mark on the ends of the shaft with a marker (preferably a metallic color), and then use your squaring tool until you no longer see any color left on the ends of the shaft.

After that, it’s time to clean out the carbon from the inside of the ends of the shaft.
It’s important to remove any excess carbon so that your adhesive can properly adhere to the inside of the shaft. To do this, take a q-tip and use either acetone, or water, and make a few swabs into both ends of the shaft. You’ll notice the black carbon showing up on the q-tip, make sure to clean it until there is no remaining carbon.